Easy Crochet Coasters: Use Up Yarn Stash Free Pattern
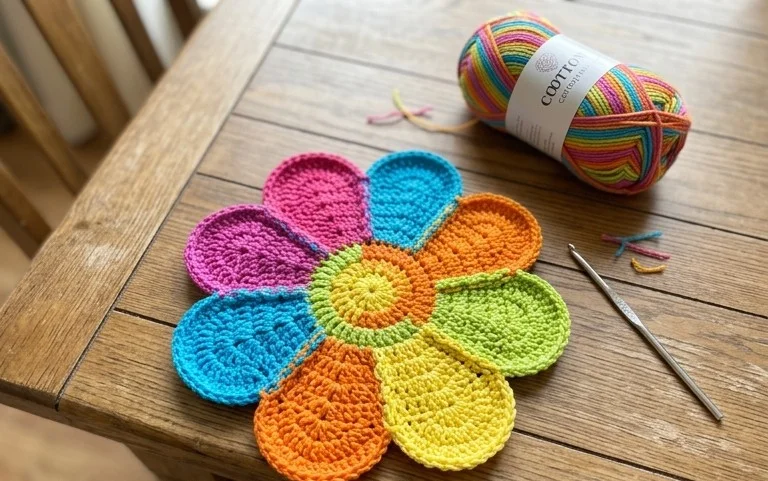
These cotton coasters sit firmly on a wooden side table, their tight stitches providing a reliable barrier against condensation. Beginners enjoy this project because it builds comfort with double crochet rounds without requiring hours of focused attention. You will practice starting in a ring and maintaining a flat circle as you work through those leftover yarn scraps hiding in your basket. Finishing a set of four feels like a small win for your home organization, especially when you have only fifteen minutes to spare. This pattern teaches you to manage tension for a smooth result every time.
Why You’ll Love This Pattern
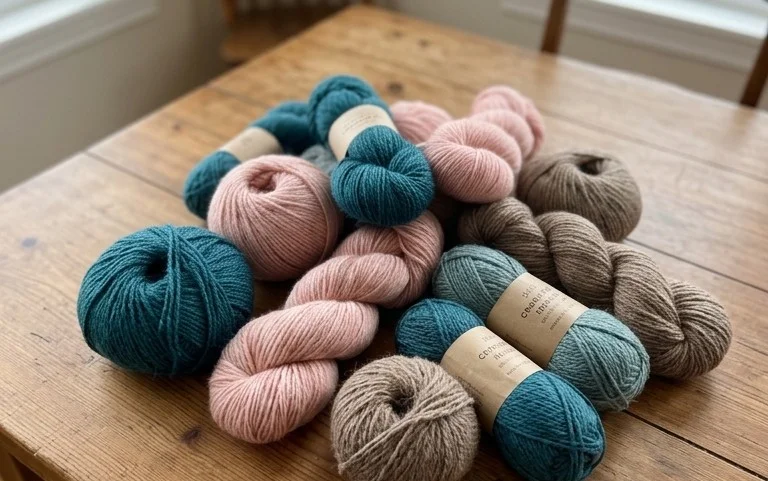
This beginner-friendly crochet coaster pattern provides a quick way to practice essential stitches while creating functional home decor. The dense, circular construction ensures your surfaces remain protected from moisture, and the project is small enough to finish in under an hour. Because it uses only a small amount of cotton yarn, it is an ideal choice for using up leftover bits from larger projects. The repetitive nature of the double crochet increases makes it a meditative project for evenings or travel.
I managed to whip up a set of four for my coffee table in just one afternoon. The pattern is very easy to follow and the finished coasters lay perfectly flat.
— Sarah, hobbyist crocheter
Pattern Overview & Skill Level
- Skill Level: Beginner
- Approximate Time: 30-45 minutes per coaster
- Construction: Worked in joined rounds, starting from a center ring
- Finished Dimensions: Approximately 4 inches in diameter
Materials & Supplies Needed
- Yarn: Worsted weight (#4), 100% cotton yarn, approximately 15-20 yards per coaster. Cotton is preferred for its absorbency and heat resistance.
- Hook Size: 5.0 mm / H-8
- Notions: Tapestry needle for weaving in ends, scissors, and a stitch marker to keep track of the round start.
- Yarn Substitutions: Acrylic yarn can be substituted for decorative purposes, though it will not absorb condensation as effectively as cotton. Using a heavier yarn will result in a larger coaster, while a thinner yarn will require additional rounds to maintain the 4-inch size.
Stitch Guide & Abbreviations (US Terms)
- ch: Chain
- st: Stitch
- sl st: Slip stitch
- dc: Double crochet
- inc: Increase (work 2 dc in the same stitch)
- MR: Magic ring (or ch 3 and join with a sl st to form a ring)
Step-by-Step Pattern Instructions
Coaster Body
- Rnd 1: Start with a MR. Ch 3 (counts as the first dc), work 11 dc into the ring. Join with a sl st to the top of the starting ch-3. (12 sts)
- Rnd 2: Ch 3, dc in the same st. Work 2 dc in each remaining st around. Join with a sl st to the top of the starting ch-3. (24 sts)
- Rnd 3: Ch 3, 2 dc in the next st. Dc in the next st, 2 dc in the following st. Repeat from * to * around until 1 st remains. Dc in the final st. Join with a sl st to the top of the starting ch-3. (36 sts)
- Rnd 4: Ch 1, work 1 sc in each st around the perimeter to create a clean, firm edge. Join with a sl st to the first sc. Fasten off and cut the yarn. (36 sts)
Finishing
Thread your tail through the tapestry needle. Pass the needle under both loops of the first stitch of the final round to mimic a stitch, then pull it back through the center of the final stitch made. This creates an invisible join. Weave the remaining tail securely into the back of the work, trim any excess yarn, and repeat for the starting center tail.
Care & Washing Instructions
- Machine wash your cotton coasters in cold water on a gentle cycle to prevent shrinking or fraying.
- Lay the coasters flat on a clean towel to air dry, ensuring they are shaped into a perfect circle while damp.
- If the edges curl after drying, lightly steam with an iron or use a spray bottle of water to dampen and re-shape before pressing flat with a heavy book.
Pro Tips & Common Mistakes to Avoid
Maintain consistent tension throughout each round to prevent the coaster from cupping or ruffling. If your coaster begins to cup, your tension is likely too tight; if it develops ruffles, your tension is too loose. Always use a stitch marker at the start of your round to ensure you do not skip the final stitch or accidentally add an extra one. When weaving in ends, work the yarn tail through several stitches in opposite directions to ensure the piece does not unravel after repeated use. To adjust the size, simply add more increase rounds, ensuring you maintain the pattern of adding 12 stitches per round for a flat circle.
Frequently Asked Questions
Can I use a larger hook for this pattern?
Using a larger hook will make the coaster larger and the stitch definition more open. This is a great way to make a mat for a small plant or a candle base, but it will be less effective at catching condensation under a glass.
Are these coasters machine washable?
Yes, provided you use 100% cotton yarn. Avoid using wool or synthetic blends that may felt or melt when exposed to high heat from hot mugs.
How do I keep my edges from curling?
Curling is usually a sign of an incorrect stitch count. Verify you have 12 stitches in Rnd 1, 24 in Rnd 2, and 36 in Rnd 3. If the counts are correct, aggressive blocking with a steam iron will force the piece to lie flat.
Can I sell the coasters I make from this pattern?
You are welcome to sell finished items made from this design. Please credit the pattern origin whenever possible to help support independent designers.
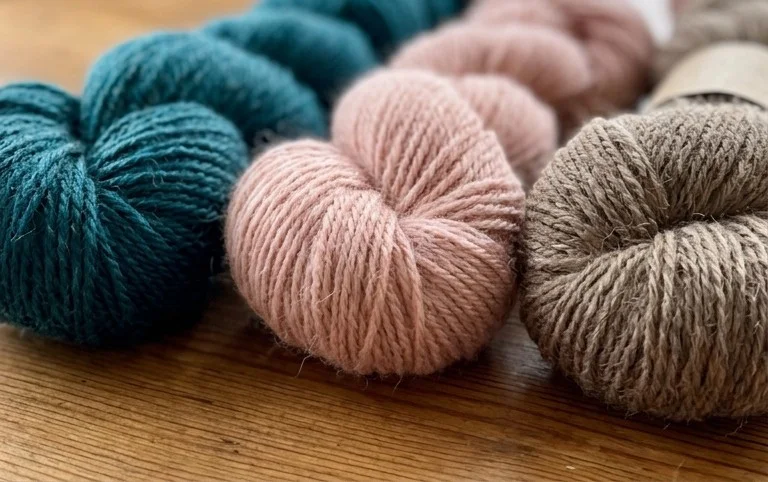
A stack of these fresh coasters brings a tidy, handmade touch to your living room and keeps your furniture safe from water rings. You can customize the look by working two colors in alternating rounds or using a slightly thicker yarn to create a oversized trivet. Sharing your finished work on social media helps other makers see how these scraps transform into useful housewares. Feel free to browse the rest of our pattern library for additional small projects that put your remaining yarn stash to good use throughout the upcoming year.