Easy Crochet Coasters: Free Beginner Pattern & Materials
A simple cotton coaster has a firm, satisfying weight that sits perfectly flat against a wooden desk, shielding the surface from condensation while adding a touch of handmade charm to your coffee table. Beginners often find these small circles rewarding because the growth from the center creates an instant sense of progress without the commitment of a large blanket or garment. You will master the rhythm of increasing stitches while working with basic yarn weights that feel substantial in your hands. This project turns simple yarn leftovers into functional housewarming gifts that look refined when finished with careful blocking.
Why You’ll Love This Pattern
This beginner-friendly crochet coaster pattern provides a practical way to protect your furniture while practicing fundamental stitch techniques. The design relies on a classic circular construction, making it an ideal choice for using up small amounts of leftover cotton yarn. You will find that the finished fabric is dense enough to absorb moisture from cold drinks while remaining flat and stable on a tabletop. Because each coaster works up in under twenty minutes, you can easily produce a full set of four or six in a single afternoon. The repetitive nature of the increase rounds offers a relaxing rhythm that is easy to pick up and put down as your schedule allows.
These coasters are my go-to project for scrap yarn because they are fast and look polished once blocked. I made a set of six in an hour and gave them as a housewarming gift.
— Sarah, hobbyist crocheter
Pattern Overview & Skill Level
- Skill Level: Beginner
- Approximate Time: 15–20 minutes per coaster
- Construction: Worked in continuous rounds from the center outward
- Finished Dimensions: 4 inches (10 cm) in diameter
Materials & Supplies Needed
- Yarn: Worsted weight (#4) 100% cotton yarn, approximately 15 yards per coaster. Cotton is preferred for its heat resistance and absorbency.
- Hook Size: 5.0 mm (H-8) crochet hook.
- Notions: Tapestry needle for weaving in ends, scissors, and a stitch marker to track the start of each round.
- Yarn Substitutions: Acrylic yarn can be substituted for decorative purposes but will not absorb moisture as effectively as cotton. Using a lighter weight yarn will result in a smaller coaster, while a heavier yarn will create a larger, thicker mat.
Stitch Guide & Abbreviations (US Terms)
- MR: Magic Ring. A technique to start rounds by crocheting over an adjustable loop.
- ch: Chain.
- sc: Single crochet. Insert hook into stitch, yarn over, pull up a loop, yarn over, pull through both loops on hook.
- inc: Increase. Work 2 single crochet stitches into the same stitch to add count.
- sl st: Slip stitch. Insert hook into stitch, yarn over, pull through both the stitch and the loop on the hook.
- st/sts: Stitch/stitches.
Step-by-Step Pattern Instructions
Coaster Body
This pattern is worked in a continuous spiral. Place your stitch marker in the first stitch of every round to keep track of your position.
- Rnd 1: Start with a MR. Work 6 sc into the ring. Tighten the tail to close the center. (6 sts)
- Rnd 2: Work 2 sc in each st around. (12 sts)
- Rnd 3: 1 sc in the next st, 2 sc in the next st. Repeat from * to * around. (18 sts)
- Rnd 4: 1 sc in each of the next 2 sts, 2 sc in the next st. Repeat from * to * around. (24 sts)
- Rnd 5: 1 sc in each of the next 3 sts, 2 sc in the next st. Repeat from * to * around. (30 sts)
- Rnd 6: 1 sc in each of the next 4 sts, 2 sc in the next st. Repeat from * to * around. (36 sts)
Finishing
Once you reach 36 stitches, complete the round with a slip stitch in the next stitch to level off the edge. Cut your yarn, leaving a 6-inch tail. Pull the tail through the loop on your hook and tighten. Use your tapestry needle to weave the tail through the back loops of the final round to secure it, then trim any excess yarn.
Care & Washing Instructions
- Machine wash your cotton coasters on a gentle cycle in cold water to prevent shrinking.
- Lay the coasters flat on a clean towel immediately after washing to air dry, ensuring they retain their circular shape.
- If the coasters become slightly misshapen, lightly dampen them with water and reshape them on a flat surface until dry.
Pro Tips & Common Mistakes to Avoid
- Maintain consistent tension throughout the rounds; if your stitches are too loose, the coaster will lose its structural integrity and look wavy.
- Always move your stitch marker up to the first stitch of every new round to ensure you do not lose track of your count, which causes the coaster to become lopsided.
- Weave in your ends by traveling through the stitches on the back side of the coaster in both directions, which prevents the yarn from working its way out over time.
- To adjust the size, add more rounds following the same increase pattern (add one extra single crochet between increases every round), keeping in mind that larger coasters will require more yardage.
Frequently Asked Questions
Can I use wool yarn instead of cotton for these coasters?
While you can use wool, it is not recommended for coasters because wool is not as heat-resistant as cotton and may felt when exposed to moisture from cold glasses over time.
Why is my coaster curling at the edges?
Curling usually indicates that your tension is too tight or that you missed an increase round. Check your stitch count at each round to ensure you are adding six stitches per round.
Is this pattern suitable for someone who has never held a crochet hook?
Yes, this project is ideal for beginners because it only requires the single crochet stitch and the ability to work in a circle, which are the foundational skills for most crochet work.
Am I allowed to sell coasters made from this pattern?
You are welcome to sell finished items made from this pattern, but please provide credit to the designer and do not use these specific instructions or photos to create your own commercial product listings.
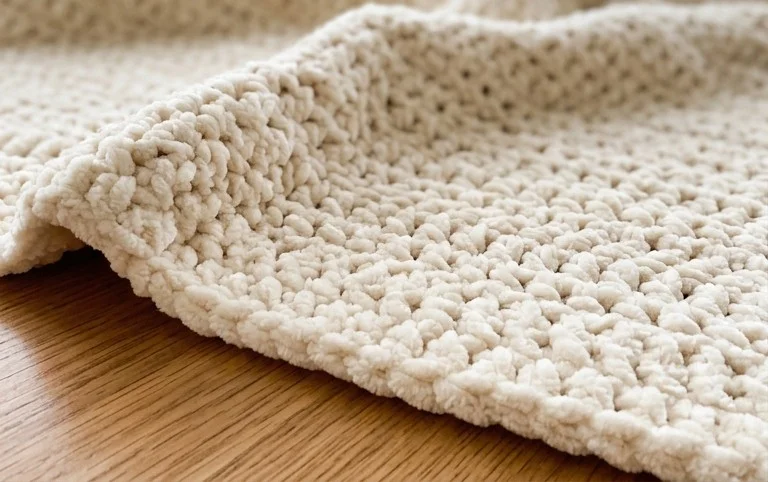
Your new set of coasters brings a clean and organized feel to any tabletop, especially when you coordinate colors to match your seasonal decor or specific room themes. You can create a larger version for mugs by adding two extra rounds of double crochet or experiment with variegated yarn for a unique look. Post a photo of your finished work on social media to show how your stitches turned out, and feel free to browse the rest of the blog for more accessible designs to fill your afternoon.