Easy Crochet Headband: Free Beginner Pattern & Tutorial
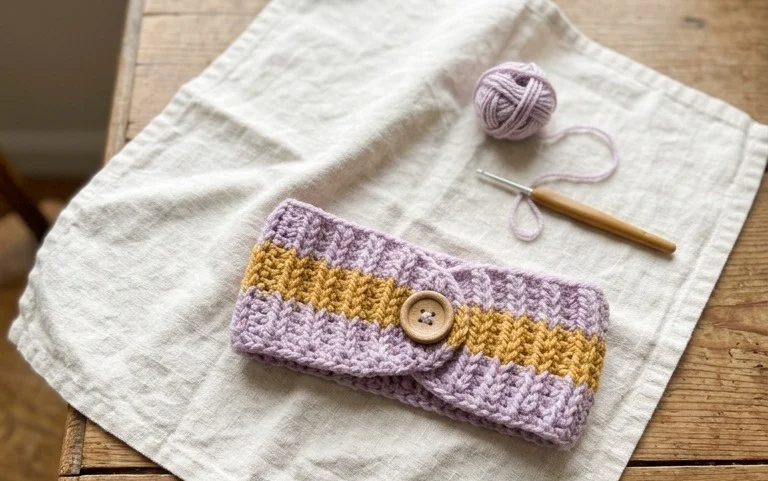
Soft wool against your ears provides warmth during chilly morning walks, and this simple project creates exactly that texture. This headband relies on basic single crochet stitches worked in the back loops, which creates a flexible, ribbed fabric that sits comfortably against the head. It is a rewarding project for beginners because it skips complex shaping, yet the final result looks polished enough to wrap up as a thoughtful handmade gift for a friend. You will find that this construction allows for a quick turn-around, helping you finish a cozy accessory in just a few quiet evenings.
Why This Project Is Worth Making
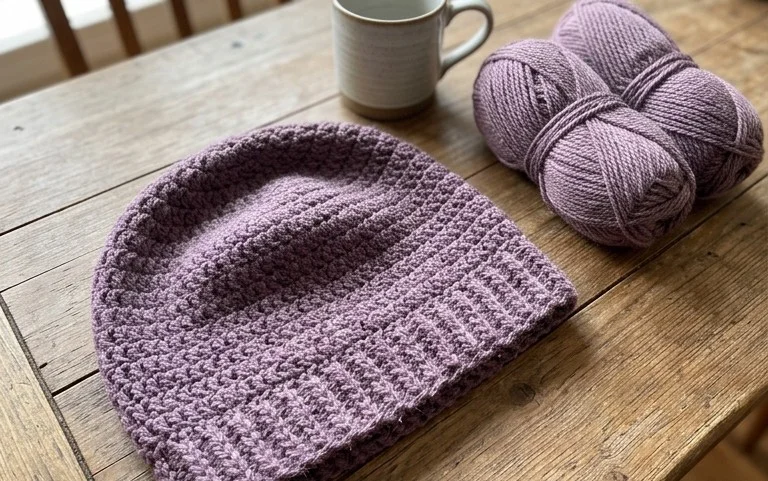
This classic crochet beanie works up quickly using a simple combination of single crochet stitches worked in the back loops to create a stretchy, ribbed fabric. The design is ideal for beginners because it requires no complex shaping; the entire hat is crocheted as a flat rectangle that is seamed together and cinched at the top. Because the pattern relies on a basic stitch repeat, it serves as a meditative project for evenings when you want to keep your hands busy without intense focus. You can use any worsted weight yarn from your stash, making it a functional way to use up leftover skeins from previous projects.
I finished this hat in one sitting while watching a movie. The instructions were very easy to follow and the finished result fits perfectly.
— Sarah, hobbyist crocheter
Pattern Overview & Skill Level
- Skill Level: Beginner
- Approximate Time: 3 to 4 hours
- Construction: Worked flat in rows to create a rectangle, then seamed into a tube and cinched at one end.
- Finished Dimensions: 18 inches circumference (unstretched) by 9 inches height, fitting an average adult head.
Materials & Supplies Needed
- Yarn: Worsted weight (#4) wool or acrylic blend, approximately 200 yards.
- Hook Size: 5.0 mm / H-8.
- Notions: Tapestry needle for seaming and weaving ends, locking stitch markers, and scissors.
- Yarn Substitutions: You may use cotton yarn, though it will have less natural stretch than wool or acrylic. If using a heavier weight yarn, adjust your starting chain length to maintain the height of the hat.
Stitch Guide & Abbreviations (US Terms)
- ch = chain
- sc = single crochet
- BLO = back loop only (insert hook under only the back loop of the stitch from the previous row)
- st/sts = stitch/stitches
- sl st = slip stitch
Step-by-Step Pattern Instructions
Hat Body
- Row 1: Ch 46. Sc in second chain from hook and each remaining chain across. (45 sts)
- Row 2: Ch 1, turn. Sc in the BLO of each st across. (45 sts)
- Rows 3-60: Repeat Row 2 until the piece measures 18 inches wide when laid flat.
- Finishing the Rectangle: Fasten off, leaving a 20-inch tail of yarn for seaming.
Assembly
- Fold the rectangle in half so that the short ends meet.
- Using your tapestry needle and the long tail, sew the short ends together using a mattress stitch or simple whip stitch to form a tube.
- Secure the yarn at the bottom edge.
- Using the remaining tail, weave the yarn in and out of the stitches along the top edge of the tube.
- Pull the tail tight to close the top of the hat, creating a gathered effect.
- Tie a secure knot on the inside of the hat to prevent it from reopening.
Care & Washing Instructions
- Hand wash in cool water with a mild wool-safe detergent to preserve the fibers.
- Lay the hat flat on a towel to air dry, ensuring it is reshaped to its original dimensions.
- Avoid using a tumble dryer or iron, as high heat can permanently distort the stitch definition and elasticity.
Pro Tips & Common Mistakes to Avoid
- Maintain consistent tension throughout the rows; if your tension tightens while working the BLO stitches, the hat will become uneven.
- Place a stitch marker in the first stitch of every row to ensure you do not accidentally skip the final stitch, which often looks hidden.
- Weave your yarn ends diagonally through the base of the stitches to ensure they remain hidden and secure after repeated washing.
- To adjust the size, change the number of starting chains; each chain adds roughly 0.5 inches to the height of the hat.
Frequently Asked Questions
Can I use a larger hook for this pattern?
Yes, using a larger hook will make the fabric softer and more draped, but it will also increase the size of the hat. You may need to subtract a few chains from your starting row to maintain the fit.
Is this pattern suitable for complete beginners?
This is an excellent project for beginners as it only uses the single crochet stitch and teaches basic seaming techniques without requiring complex increases or decreases.
Can I sell the hats I make from this pattern?
You are welcome to sell items made from this pattern, provided you credit the original design and use your own photographs for your product listings.
What if I run out of yarn before finishing the rectangle?
If you run out of yarn, you can either finish the rectangle early for a shorter beanie style or join a new skein at the end of a row, ensuring you weave in the loose ends on the inside of the hat.
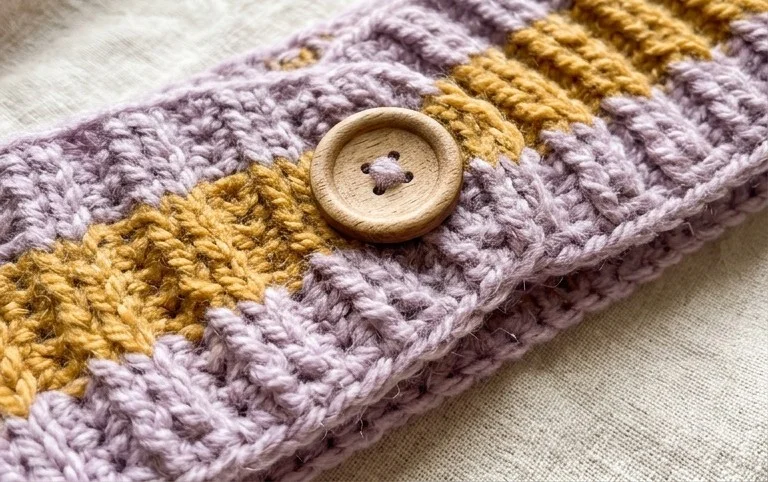
Your finished piece serves as a cozy accessory that adds warmth to any winter outfit, especially when crafted in a neutral charcoal or deep navy wool. You might try adding a large yarn pom-pom at the seam for a playful variation or adjusting the width if you prefer a thicker ear warmer style. Please share a photo of your work on your favorite social media platform so others can see your color choices. Visit our archive for more free patterns to fill your next afternoon project.