Easy Crochet Sphere: Free Pattern and Materials Guide
A smooth, firm crochet sphere sits comfortably in your palm, offering a satisfying weight that makes it a favorite for fidgeting or adding a touch of handmade charm to a desk. This project uses simple materials that you likely have in your craft bin, turning scraps of yarn into a polished, structured shape. Beginners will find the repetitive motions relaxing, while seasoned makers enjoy the opportunity to refine their tension on small, manageable rounds. You will learn the mechanics of maintaining a tight, consistent gauge, which ensures your stuffing stays securely tucked away inside the finished form.
Why Crocheters Love It
This beginner-friendly project creates a structured, 3D crochet sphere perfect for decorative home accents or handheld stress balls. The pattern relies on a classic amigurumi base, making it a reliable way to practice consistent tension and invisible increases. Because it uses less than 50 yards of medium-weight yarn, it serves as a stash-buster for leftover skeins. The repetitive, rhythmic nature of the single crochet stitches provides a meditative crafting session that produces a finished piece in less than two hours.
I managed to finish this project during a single weekend afternoon. The instructions were easy to follow and the sphere held its shape perfectly after I added the recommended stuffing.
— Sarah, amigurumi enthusiast
Pattern Overview & Skill Level
- Skill Level: Beginner
- Approximate Time: 1–2 hours
- Construction: Continuous rounds (amigurumi style) starting from a magic ring
- Finished Dimensions: Approximately 3 inches in diameter depending on tension
Materials & Supplies Needed
- Yarn: Worsted weight (#4), 100% cotton recommended for stitch definition, approximately 30 yards.
- Hook Size: 3.5 mm (E-4) for a tight gauge that prevents stuffing from showing through.
- Notions: Polyester fiberfill for stuffing, stitch markers, yarn needle, scissors.
- Yarn Substitutions: Acrylic yarn works well but results in a softer, squishier texture. Wool blends will add a premium look but may be more difficult to wash.
Stitch Guide & Abbreviations (US Terms)
- MR: Magic Ring.
- ch: Chain.
- sc: Single crochet.
- inc: Increase (work 2 sc in the same stitch).
- dec: Decrease (sc2tog; insert hook into front loop of next two stitches, yarn over, pull through, yarn over, pull through both loops on hook).
- sl st: Slip stitch.
- st(s): Stitch(es).
Step-by-Step Pattern Instructions
Work in continuous rounds without joining at the end of each row. Place a stitch marker in the first stitch of every round to keep track of your position.
Sphere Body
- Rnd 1: Start 6 sc in a magic ring (6 sts).
- Rnd 2: Work 2 sc in each st around (12 sts).
- Rnd 3: [Sc 1, inc] repeat 6 times (18 sts).
- Rnd 4: [Sc 2, inc] repeat 6 times (24 sts).
- Rnd 5: [Sc 3, inc] repeat 6 times (30 sts).
- Rnd 6: [Sc 4, inc] repeat 6 times (36 sts).
- Rnd 7–12: Sc in each st around (36 sts).
- Rnd 13: [Sc 4, dec] repeat 6 times (30 sts).
- Rnd 14: [Sc 3, dec] repeat 6 times (24 sts).
- Rnd 15: [Sc 2, dec] repeat 6 times (18 sts).
- Rnd 16: [Sc 1, dec] repeat 6 times (12 sts).
Stuffing and Finishing
Firmly pack the sphere with fiberfill until it reaches your desired density. Do not overstuff, as this will stretch the stitches and reveal the batting.
- Rnd 17: Dec 6 times (6 sts).
- Fasten off, leaving a 6-inch yarn tail.
- Thread the tail onto a yarn needle. Weave the needle through the front loops of the remaining 6 stitches and pull tight to close the hole.
- Secure the end with a knot and bury the yarn tail inside the sphere.
Care & Washing Instructions
- Hand wash in cool water using a gentle liquid detergent.
- Gently squeeze out excess water, do not wring, and lay flat on a clean towel to air dry.
- Reshape the sphere gently with your hands while damp if the stuffing has shifted during washing.
Pro Tips & Common Mistakes to Avoid
- Consistent Tension: Keep your yarn tension slightly tighter than usual. This prevents gaps in the fabric where the white fiberfill might poke through.
- Stitch Counting: Always move your stitch marker to the first stitch of the new round immediately after finishing the last stitch of the previous round.
- Invisible Ends: Use a blunt-tipped tapestry needle to weave in your yarn tails. Passing the yarn through the center of the sphere once before trimming ensures the tail stays locked inside.
- Size Adjustment: Increasing the hook size will make the sphere larger but may require more yarn and result in looser stitches. Use a hook at least 1 mm smaller than the yarn label recommendation for best results.
Frequently Asked Questions
Can I use a larger yarn weight for this pattern?
Yes, but you will need to adjust your hook size accordingly to maintain a dense fabric. A larger hook and yarn will produce a significantly larger sphere.
How do I prevent holes when making increases?
Ensure your hook size is small enough for the yarn weight. If you still see holes, try the invisible increase method by working into the front loops only.
Can I sell the items I make with this pattern?
You are welcome to sell finished products created from this design. Please credit the original pattern designer in your online listings.
Is this suitable for a complete beginner?
This project is ideal for beginners because it only requires the single crochet stitch and the ability to work in a circle. The repetitive rounds provide excellent practice for mastering the basics.
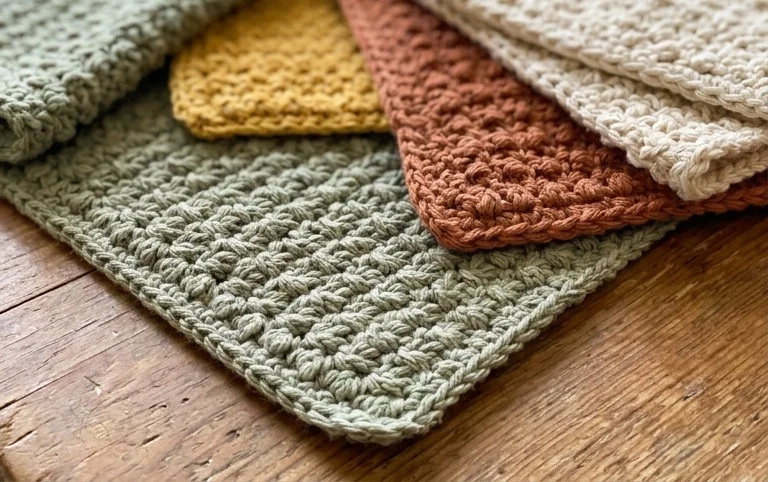
Your finished sphere provides a tidy, tactile result that feels substantial and professional in the hand. Try using a variegated yarn for a playful look or work a larger version by simply adding more increase rounds to the initial structure. Sharing your progress on social media helps other makers find inspiration for their own stash-busting projects, so post a photo of your work when you finish. You can find more free patterns and techniques for small amigurumi shapes by browsing through the archives on my main blog page.